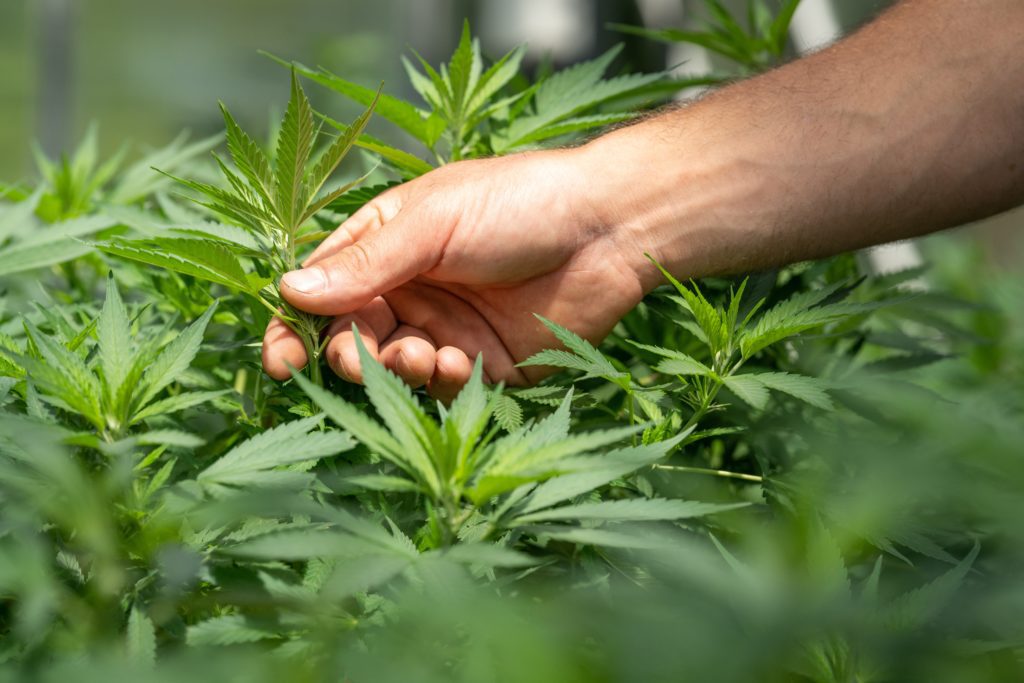
Growing cannabis is a labor of love, especially if you raise your plants from seed. You watch that tiny little seed transform into a big strong plant that begins to flower, and as soon as those flowers show up, the only thing you can think of is harvesting them. It’s exciting — you’re far from alone in wanting to try your own hand-raised weed. It’s literally the fruits of your labor.
Harvesting your cannabis at the right time is key. If you harvest too early, your crop won’t be as good. If you harvest too late, you can experience a degradation of cannabinoids that kills the potency of your flower.
Your plant will tell you when it’s ready to be harvested. Being patient and checking on your plant’s progression on a daily basis will help you catch your buds at the exact right time.
From seed to plant
Germinating your seeds, or getting them to sprout, will take about a week. Once you see greenery peeking out from the surface of the soil, the hard work begins. Then, the plant itself begins to grow, i.e. become vegetative. At this stage, plants need nearly constant sunlight or UV light to continue to grow. This state lasts as long as two months.
Somewhere between four and eight weeks, flowers start to appear. A plant can flower for up to ten weeks. Hearty sativas can sometimes take longer. It’s not unusual for sativa buds to take up to 12 weeks to be ready to harvest.
This means that in all, from seed to flower, it isn’t unusual for the process of growing a cannabis plant to last 20 weeks or longer before your flower is ready to harvest. Good things come to those who wait. The key is knowing exactly how long to wait before your flower is at its prime.
Looking for visual cues
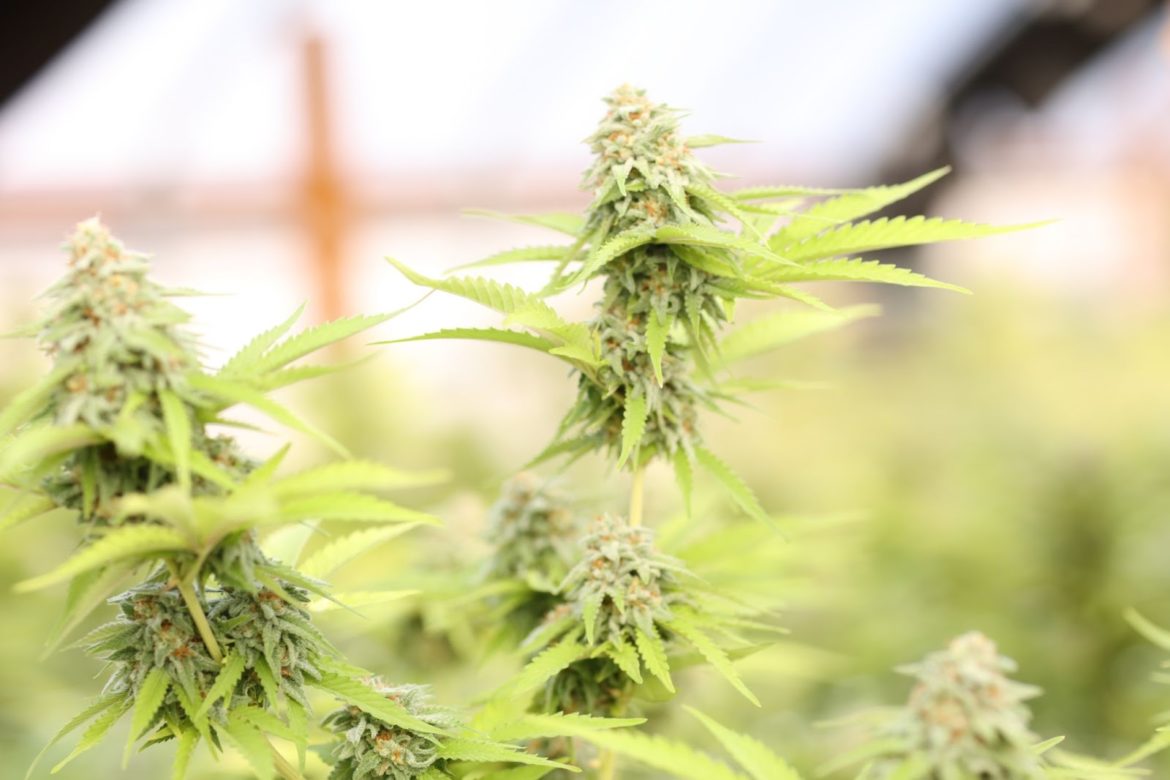
It’s all about the trichomes. The trichomes are the crystally bits that surround a bud, and they hold onto little resin bits called kief. The trichomes can tell you everything you need to know about where in the growth and maturation process your cannabis flower is. It’s easy to see whether or not trichomes are present. It’s a little harder to tell the difference between hues of trichomes, and that’s what’s most important. The color of the trichomes is one of your most important clues.
Trichome colors and what they mean
When trichomes first appear, they’ll be clear. They’ll look similar to teeny-tiny melting icicles. They’re translucent, shiny, and very delicate. Every strain will have a different amount of trichomes. Some strains, like Durban Poison and Ghost Train Haze, are usually so covered in trichomes that they look like they’ve been rolled in sugar.
Clear trichomes are a great indicator that your plants are healthy. It’s also a sign that your plants will be ready to harvest soon. You should be checking your trichomes every day for signs of cloudiness. When the trichomes change from clear to foggy, it’s time to harvest. It might be hard to observe this change with the naked eye. A magnifying glass or a camera with an excellent macro mode can help you observe your trichomes up close.
Indica strains are a little different. You might not want to harvest them as soon as the trichomes go cloudy. It’s a better idea to wait until the trichomes begin to turn amber. Amber trichomes mean that your cannabinoids are aging and changing. The balance of THC and CBD shifts, promoting a better body high. For a subtle boost, harvest when about 20% of the trichomes are amber. For an intense body high, you can wait until the trichomes are 50% amber.
Harvesting your flower
When your trichomes are looking good, it’s time to harvest your flower. Many people harvest by cutting the whole branch of the plant, flower, leaves, and all. You can manicure the flowers and remove the leaves from the branches at this point, or after you’ve dried them.
Buds will dry faster if you remove them from the plant by hand and manicure them before you dry them. When the buds are separated from the branches and leaves, you’re removing additional sources of moisture and obstacles that may trap residual water. If you want to reduce your drying time, this is the best way to go.

Drying your flower
Place your manicured buds on a drying rack in your drying room. A closet will work well for this purpose. You need to keep the closet dark and allow the air to circulate. Installing a portable air conditioner or at least a decent tower fan can help to facilitate this process. The ideal temperature in your drying room should be about 65 degrees Fahrenheit. If the room is too cool, the buds will stay damp. If it’s too hot, they’ll shrivel and lose potency as they dry.
Humidity is also an important factor. You can use a device called a hygrometer to measure the humidity in your drying room. These are tiny electronic devices that you can find at most hardware stores. Pet stores have them near the reptile supplies. You want your humidity to sit around 60%.
If your humidity is wonky, you can add a humidifier or a dehumidifier to the space. Make small adjustments until you get the humidity dialed in, and keep a close eye. In a small room, fluctuations in temperature and humidity are common. The air stays locked in, driving up the humidity or reducing the temperature. If you can, consider installing proper ventilation.
Curing your flower
When your flower starts to become crunchy on the outside, that’s a sign that it’s dried to the point where it’s time to cure it. Curing your cannabis isn’t that difficult — it’s more a game of patience than a game of skill.
You can cure your bud in glass mason jars. Fill the jars up about 75%, leaving some headroom for air at the top. Never pack your flowers in. Compressing them will cause residual moisture to become trapped, rotting your flowers and undoing all of your hard work. After you’ve put your buds in the jar, shake it around. If they’re freely moving and clanging against each other, they’re definitely dry enough to cure. If they’re sticking together, they need more time in the dry room.
If they pass the shake test, place a small hygrometer at the bottom of the jar with the display facing outwards. You should be able to read the hygrometer by lifting up the jar and looking at the bottom. You want to keep the humidity at around 60%, just like it was in your drying room.
Store your jars in a cool, dry, dark place. Any closet or cabinet will get the job done. For the first two weeks, open your jars twice a day to let the old air out and introduce some new air. Keeping the lids off for about five minutes each time is usually fine unless the jars are too humid inside. If they’re too humid, you can leave the lid off for a few hours or return your flower to the drying room.
Be vigilant for signs that trapped moisture is causing decay. If you open the jar and it smells more like ammonia than weed, that’s a sign that your weed has gone bad. The goal is to catch individual problematic buds and pluck them out before their moisture or bacteria spread to the whole jar. Constant inspection is important.
If the humidity stays ideal and the buds look and smell fresh after two weeks, your job of babysitting the jars will become much easier. You’ll only need to open them once or twice a week until they’re done curing.
If you’re impatient, you can stop curing your cannabis after four weeks. Generally, the longer you cure it, the better it will be. Some potent indicas will cure for up to six months.
The takeaway
Growing cannabis is a labor of love. It’s a long trip from seed to smoke, and the process requires a lot of patience on the part of the grower. Many people find that the curing process is the hardest to be patient for because they can see and smell how beautiful their bud is and they can’t wait to smoke it. Remember that old wine is beloved for its exclusivity and rarity. Extensively cured weed is just as much of a delicacy.
If you’re having a hard time staying patient, Emjay can help. We’ll deliver you cannabis flower, vapes, and more in about half an hour. If you’re extremely impatient, we can deliver you pre-rolls so you can light up the moment your delivery arrives. Smoke our weed until yours is done curing. There’s no reason to go without!
